Getting around
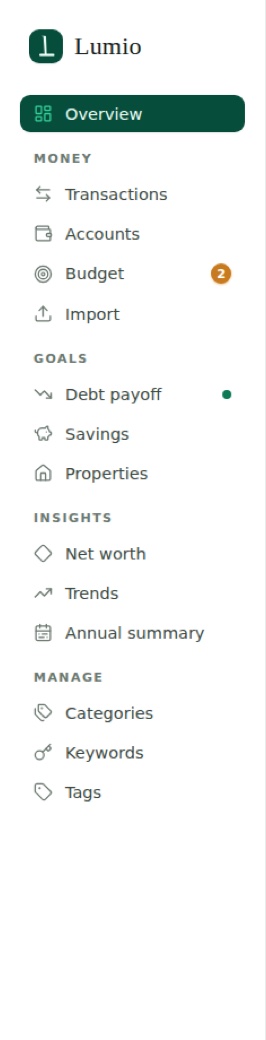
Lumio's left sidebar groups everything: Overview up top, then Money (Transactions, Accounts, Budget, Import), Goals (Debt payoff, Savings, Properties), Insights (Net worth, Trends, Annual summary), and Manage (Categories, Keywords, Tags). The top bar has your Import button, a theme toggle, and your account menu. On your phone, the sidebar collapses into the ☰ menu.
Lumio has four areas across the top: Dashboard, Activity, Plan, and Insights. The gear opens Settings and the moon toggles dark mode. The left rail is a shortcut to sections, including Categories. “On-device only” in the corner is a standing reminder: nothing you import ever leaves your computer.
Importing transactions
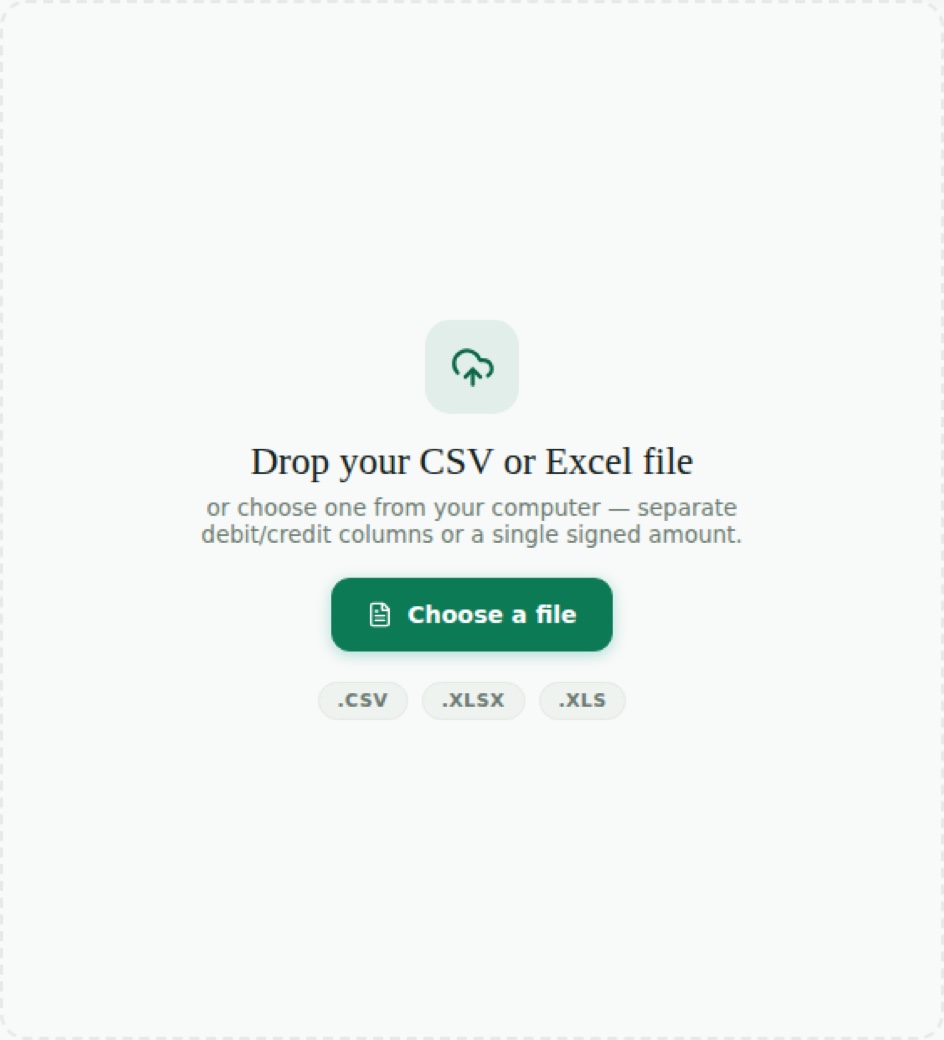
Open Import, choose which account the file belongs to, and Lumio auto-detects the columns. Fix any heading if it guessed wrong, review the preview, then Confirm Import.
It accepts .csv, .xlsx, and .xls, with either separate debit and credit columns or one signed amount — and nothing is uploaded to a bank.
Managing accounts
Every file is tied to an account. Accounts lists them all with their transaction counts, total spending, and upload history.
You can edit an account or delete it. Credit-card accounts also show a “Set up debt tracking” button, which we come back to in the debt section.
Categories and subcategories
Every transaction lands in a category and a subcategory. This is the backbone of your budgets and insights, so it is worth a look early.
There are five transaction types — Income, Expense, Savings Contribution, Investment, and Transfer. Each has main categories with subcategories beneath them. You can edit any default, and fully edit or remove anything you add.
The Need and Want tag
When you create a category, you tag it as a Need, a Want, or Neither. It powers the income-based budget suggestion: needs fill the 50% bucket and wants fill the 30%.
The defaults come pre-tagged, with housing and utilities as needs and dining and shopping as wants.
The dashboard
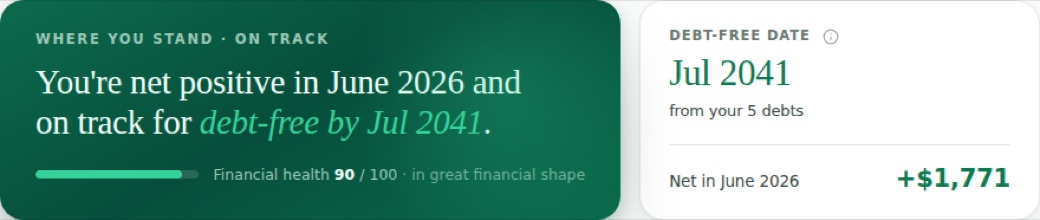
Your at-a-glance view, with a financial health score and your projected debt-free date up top.
- Total expenses, income, net position, and savings rate
- Spending by category and monthly income vs expenses
- A six-month spending trend and your top merchants
- A “needs attention” alert when budgets go over
Insights and trends
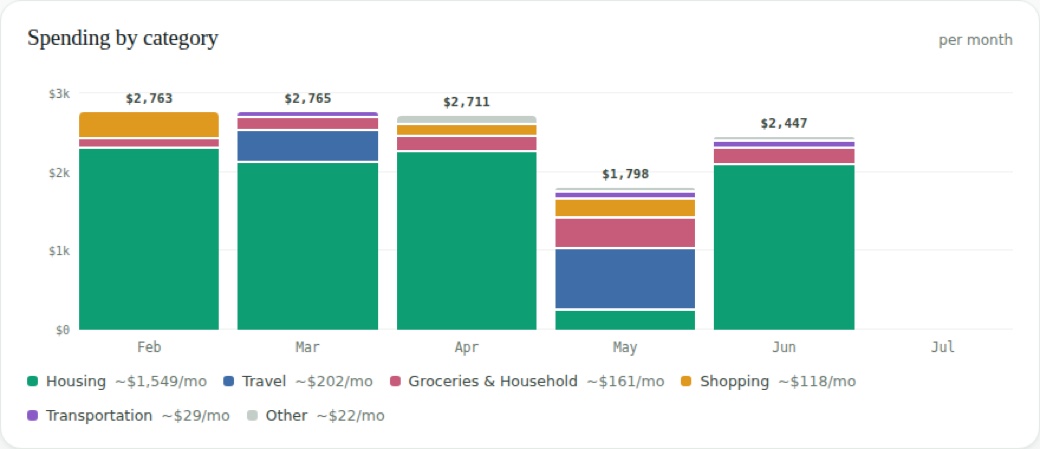
Insights has three views: Net Worth, Trends, and Annual Summary. Trends gives you a month-over-month read on spending by category and income against expenses.
Filter by account, category, or date range. Transfers are excluded, so the numbers reflect real spending.
Budgets
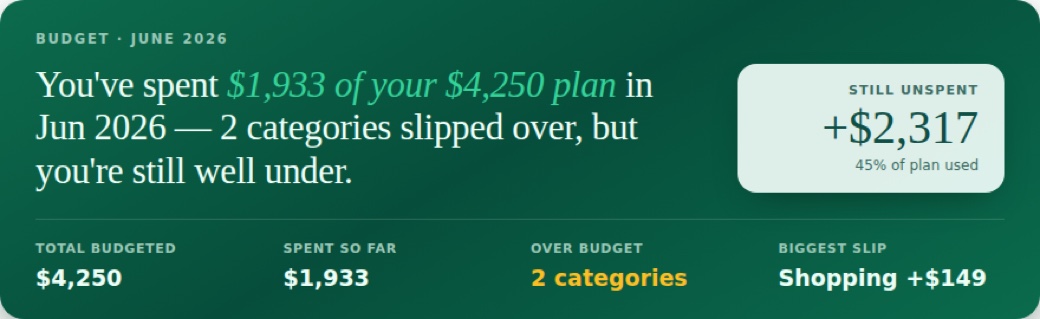
Set a monthly limit for any category and Lumio tracks actual spending against it in real time. The bars turn red the moment you cross a limit.
You see totals for budgeted, spent, remaining, and how many categories are over, and you can copy this month's budget to the next in one click.
Suggested budgets
Never budgeted before? You do not have to guess at the numbers.
- Based on my spending averages your recent transactions into a limit per category.
- Based on my income splits your take-home pay 50/30/20 using the Need and Want tags.
Accept a suggestion, then adjust any number. It is a real starting budget in seconds.
Debt: see your free date
Add each debt you carry and Lumio projects the exact month you will be debt-free, along with the total interest you will pay getting there.
The summary shows total owed, required minimums, interest remaining, and your monthly total, broken down by debt type.

Adding a debt by hand
- Name it and choose a type: credit card, loan, or mortgage.
- Enter the balance and the annual interest rate.
- The minimum payment auto-fills at 2% of balance; edit if yours differs.
- Add the credit limit so Lumio can show utilization.
- Optionally link an account to auto-track the balance.
Turning a card into a debt
There is a faster path for credit cards. On a credit-card account, use the “Set up debt tracking” button.
Confirm the balance, APR, and minimum payment, and it becomes a debt on the Debt page, linked to that account, so its balance tracks your transactions automatically.
Approximate vs actual
No exact figures yet? Enter estimates and Lumio still projects your date, then flags those debts so you know which to firm up. A debt marked as an estimate shows an amber badge; once you update it from a statement, the flag clears and the projection is exact.
Balances that update themselves
When a debt is linked to an account, its balance is not a number you maintain. It is recomputed from your transactions every time you open the page.
Charges raise it, payments and transfers lower it, it refreshes the moment an import finishes, and only transactions after the start date count. An unlinked debt changes only when you edit it by hand.
Strategy and extra payments
- Avalanche pays the highest rate first and saves the most.
- Snowball clears the smallest balance first for quick wins.
- Custom lets you split extra payments your own way.
- Drag the debt cards to set your payoff order.
- Add an extra monthly amount and it rolls to the next debt as each clears.
Even $50 extra a month can pull your debt-free date in by years, and Lumio recalculates the instant you change it.
Savings goals
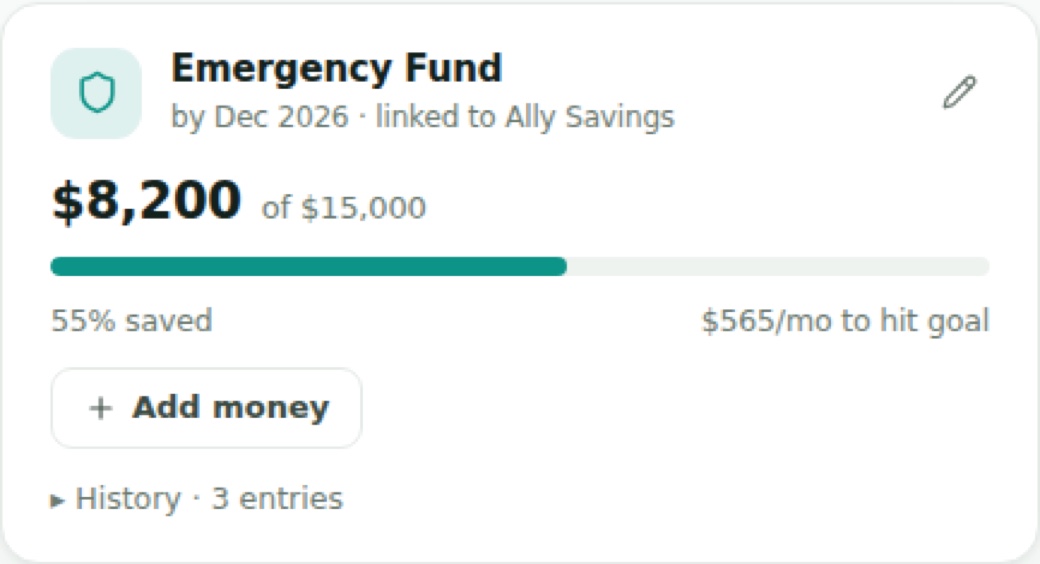
Give each goal a name, a target, and a deadline. Lumio shows how much you have saved against what is left and the monthly amount needed to hit the date.
Add or withdraw funds, view each goal's history, and watch progress across all of them.
Properties and mortgages
Track properties, mortgages, and rental income in one place. Property values flow into your Net Worth as assets and mortgage balances flow in as liabilities, with no double entry.
Each property shows its equity, a full payment breakdown, and payoff scenarios. Log rent to track cash flow, and get alerts when leases are expiring.
Settings and security
Open Settings from the top bar, and toggle dark mode any time.
Unlocking after the trial
When your 14-day trial ends, keep everything by subscribing ($9/mo or $90/yr) from the billing screen. Your data is safe — you stay read-only until you subscribe.
- Cancel any time from the billing screen.
- Your account and history carry over the moment you subscribe.
After the trial, enter your license key on the activation screen to unlock the app for good. One-time purchase — no subscription.
- You get a license key by email right after checkout.
- There is a 30-day money-back guarantee from the purchase date.